For a long time, I have been thinking about starting a blog. I have just never got it done. Last week I was participating in a Thought Leadership Workshop at work and got the boost needed for starting a blog. So, now, finally my blog sees the daylight! Amazing.
In my blog I’m going to write about software development and stuff that I have learned while programming.
So in order to get started with blogging, I’ll start by writing about the steps that were needed in order to set up this blog. In this blog post I’m writing about how to setup HTTPS for a GitHub page using a custom domain.
First step - custom domain
First step for me was to setup a custom domain (olpe.fi) to point to my github page (olpeh.github.io).
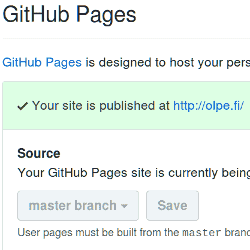
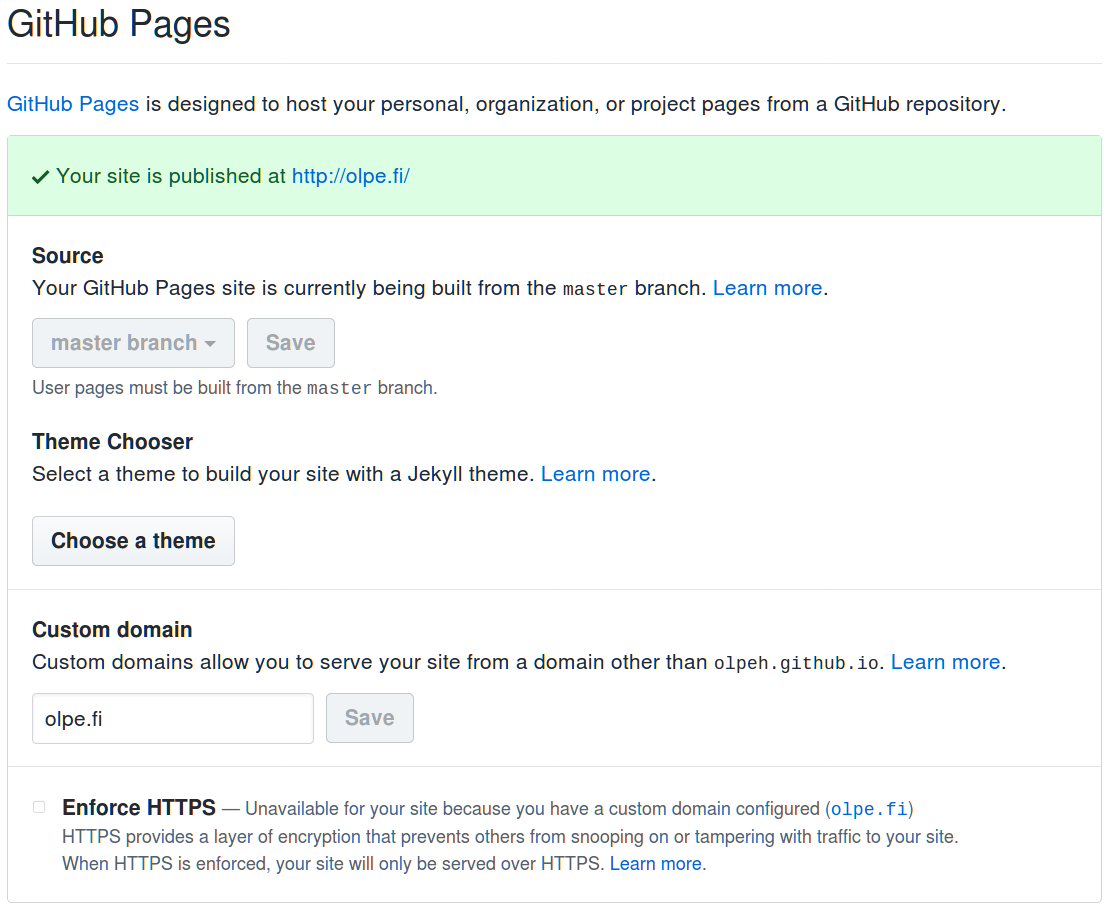
In the settings page for my repository in GitHub I could easily set up a custom domain for the github page as seen in the screenshot below.
This was not enough though. Had to read the page behind the Learn more {:rel=”noopener noreferrer”} link. In my opinion that page is quite confusing and I did not know what to do really.
In the end I found out that this was the page with the information that I needed:
Confirm that you have added a custom domain to your GitHub Pages site.
Contact your DNS provider for detailed instructions on how to set up A records.
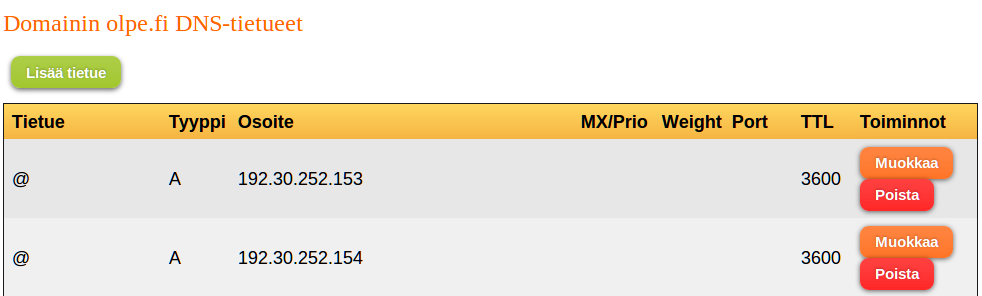
Follow your DNS provider’s instructions to create two A records that point your custom domain to the following IP addresses:
192.30.252.153
192.30.252.154
So I went ahead and set up the correct A type records at my providers’ page. See the screenshot below for the DNS records for the root domain olpe.fi. I also set up the same rules for www.olpe.fi in order to also support www.olpe.fi.
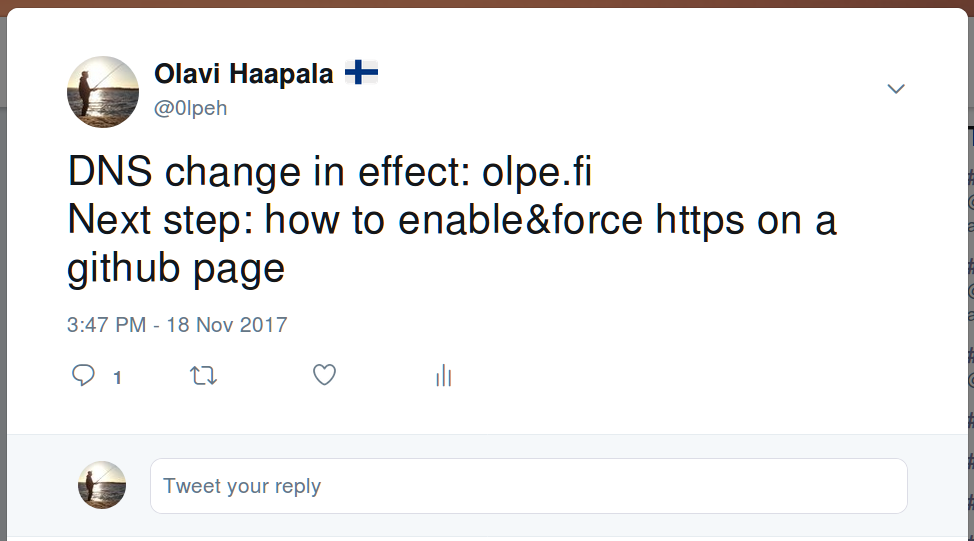
This was enough to make my GitHub page (olpeh.github.io) available at olpe.fi and www.olpe.fi . I was happy for a moment and tweeted this:
Next step - HTTPS
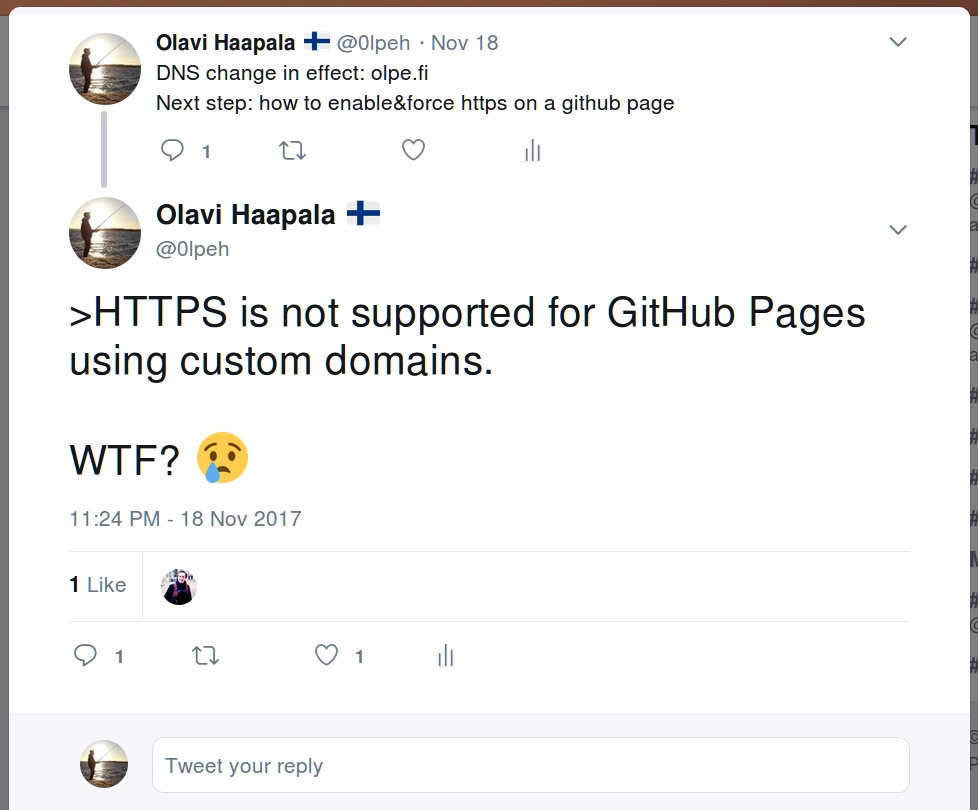
Next step was to enable and force using HTTPS in stead of HTTP on olpe.fi. Should be fairly simple to turn it on, right? And why is it not on by default? Nowadays browsers will show a warning if a page is served using HTTP instead of HTTPS and I also wanted to make my site available as a secure P2P site using dat in Beaker browser which requires HTTPS. More about those later.
However, it turns out GitHub does not support HTTPS for custom domains (yet)!
Well luckily I’m not the only one wanting this feature and there are some workarounds available. I found a few nice tutorials about how to set up HTTPS for GitHub page with custom domain using Cloudfare (for free): As a gist and a blog post and another and one more .
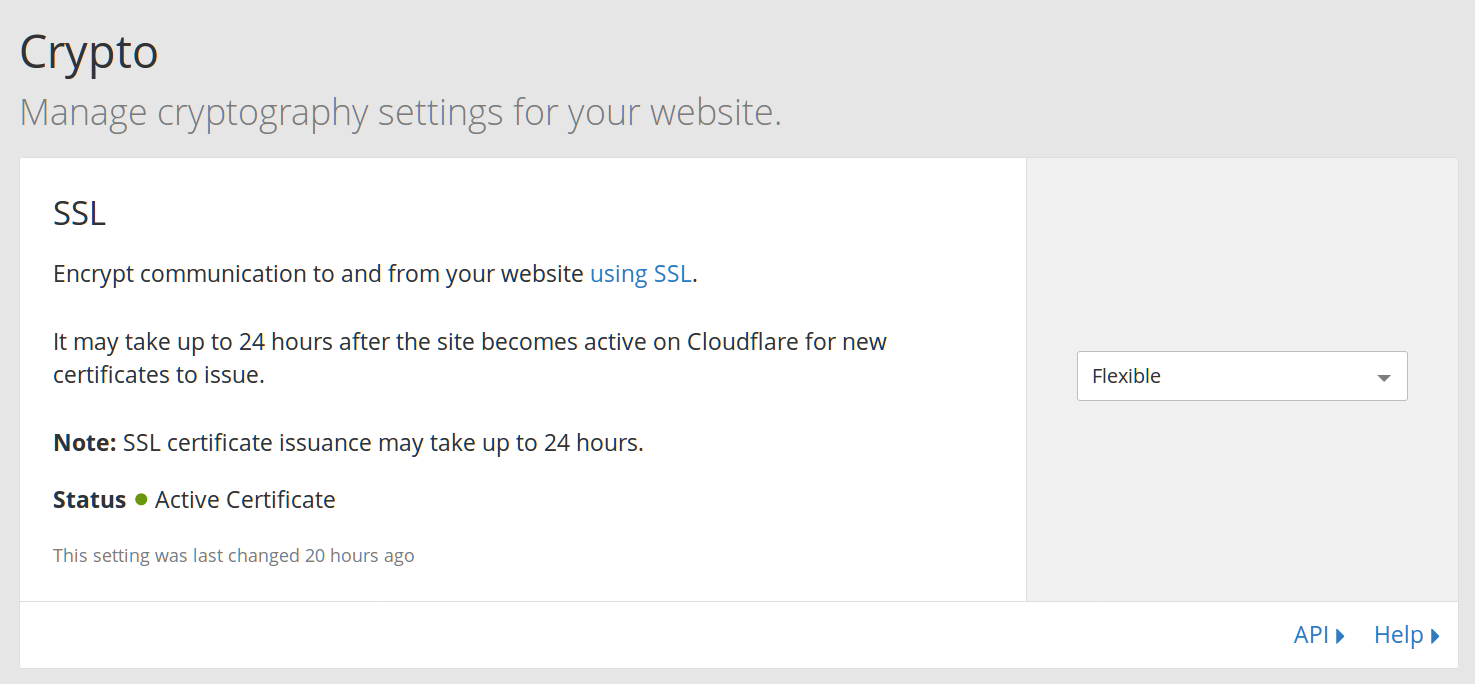
I tried following those instructions pretty carefully but ended up redirecting from https://www.olpe.fi to https://olpe.fi and from there back to www. These steps included creating an account to cloudfare, adding olpe.fi as a site there, enabling flexible encryption mode using SSL and adding some redirection rules for forcing https.
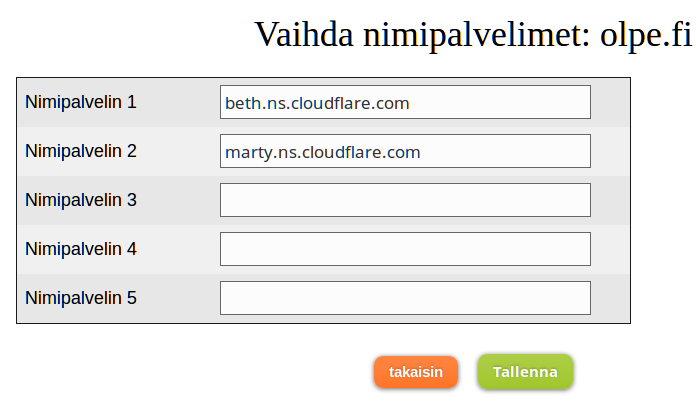
In the end my working setup looked like this:

Nimipalvelin means name server in Finnish.
So now my site was available via HTTPS and dat as seen in the screenshot below.
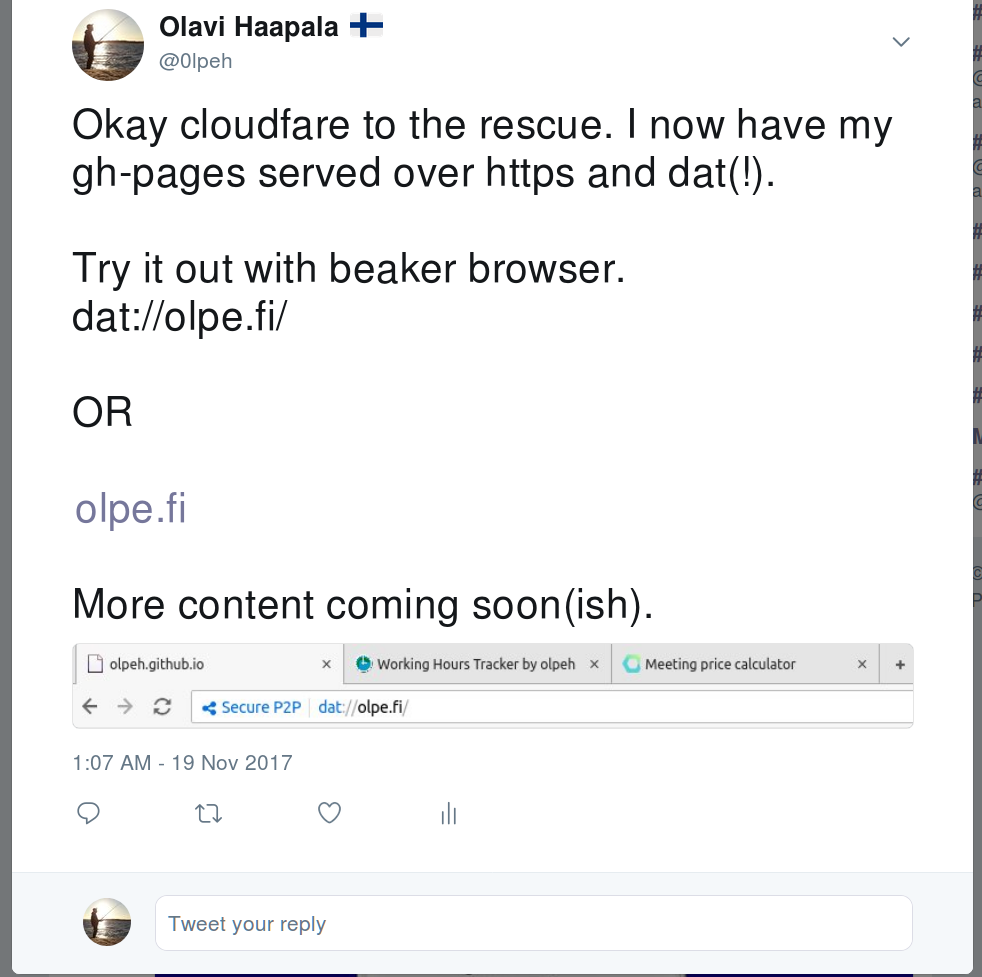
Dat support was something that I had configured earlier with the help of this blog post . P2P websites are available using Beaker browser I will try to write more about P2P in a future blog post. In the meantime you can read about Secure Scuttlebutt and probably try it out using Patchwork .
Last step - the blog
At this point my “blog” was served over HTTPS but the only thing missing was the actual blog. I wanted to stay using a GitHub page based blog so jekyll was a natural choice for a static web page. I got a nice tip from my colleague about elmtown.audio which is a simple GitHub page with static content. That setup was pretty much enough for me and I copied most of the setup from there except for the visual outlook.
Next thing in my todo-list is to make the design of my blog better, but I’ll just start off with some basic stylings and a simple looking blog.
Acknowledgements
- Thanks to Ossi Hanhinen for giving me good hints on how to setup basic jekyll based static site. Reused the structure from: elmtown.audio which is made by Ossi
- Thanks to my wonderful colleagues at Futurice for arranging a Thought Leadership Workshop where I got the boost needed in order to start blogging
- Thanks to all the people who wrote about how to setup HTTPS using Cloudfare
- Thanks to Cloudfare for providing a free plan that has all the most critical features